
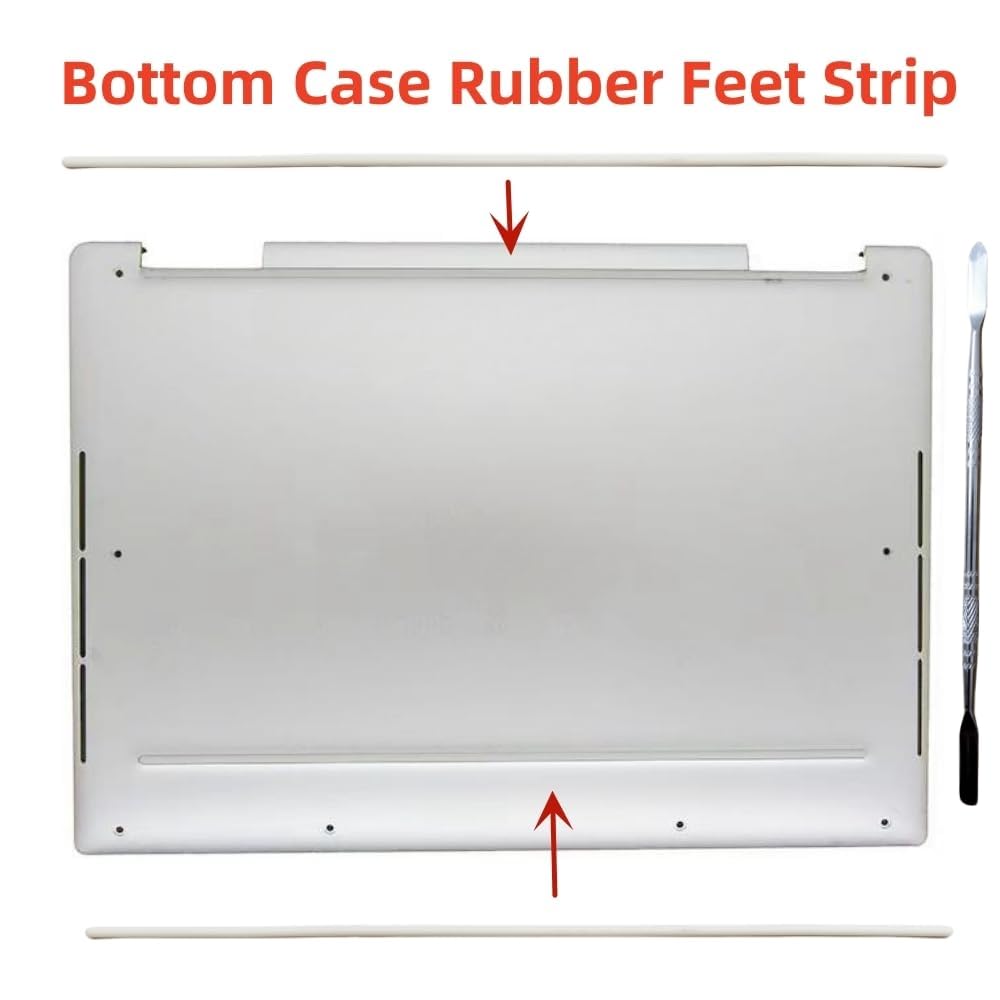
🦶 Elevate your Dell XPS grip game — because every step counts!
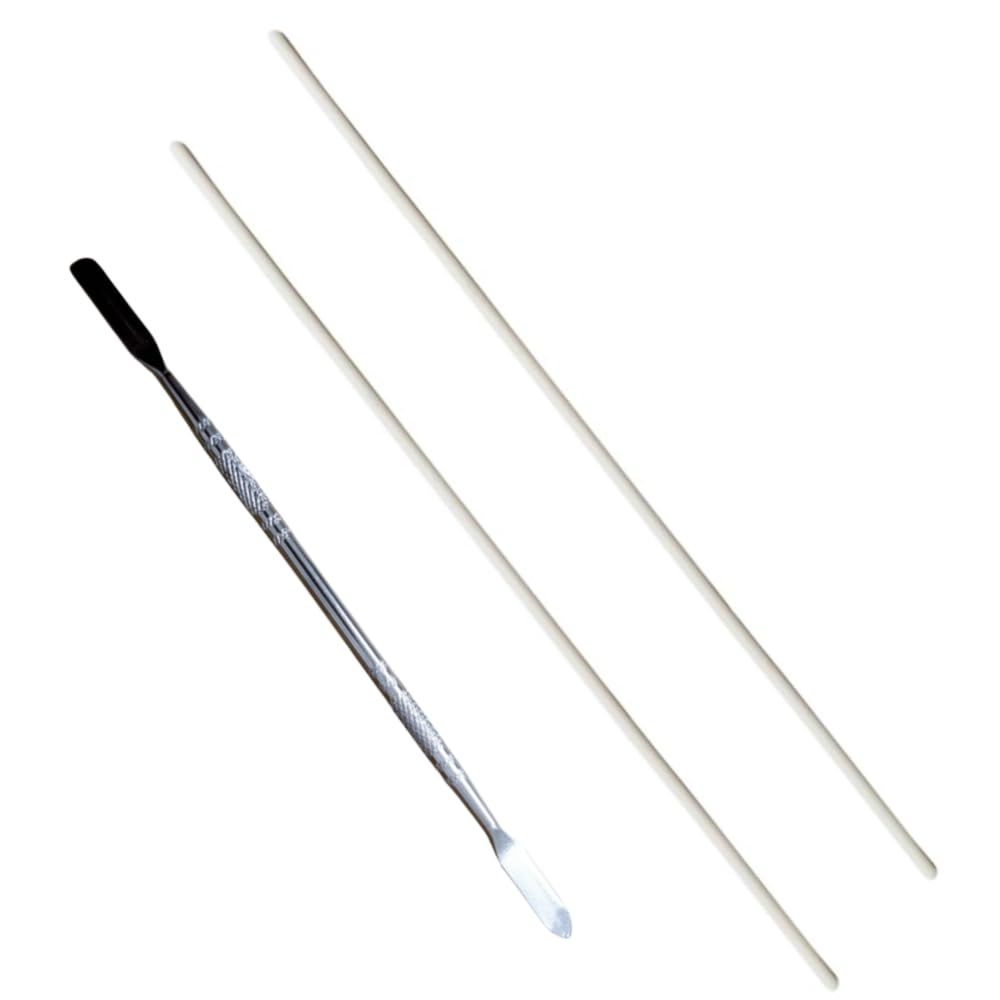
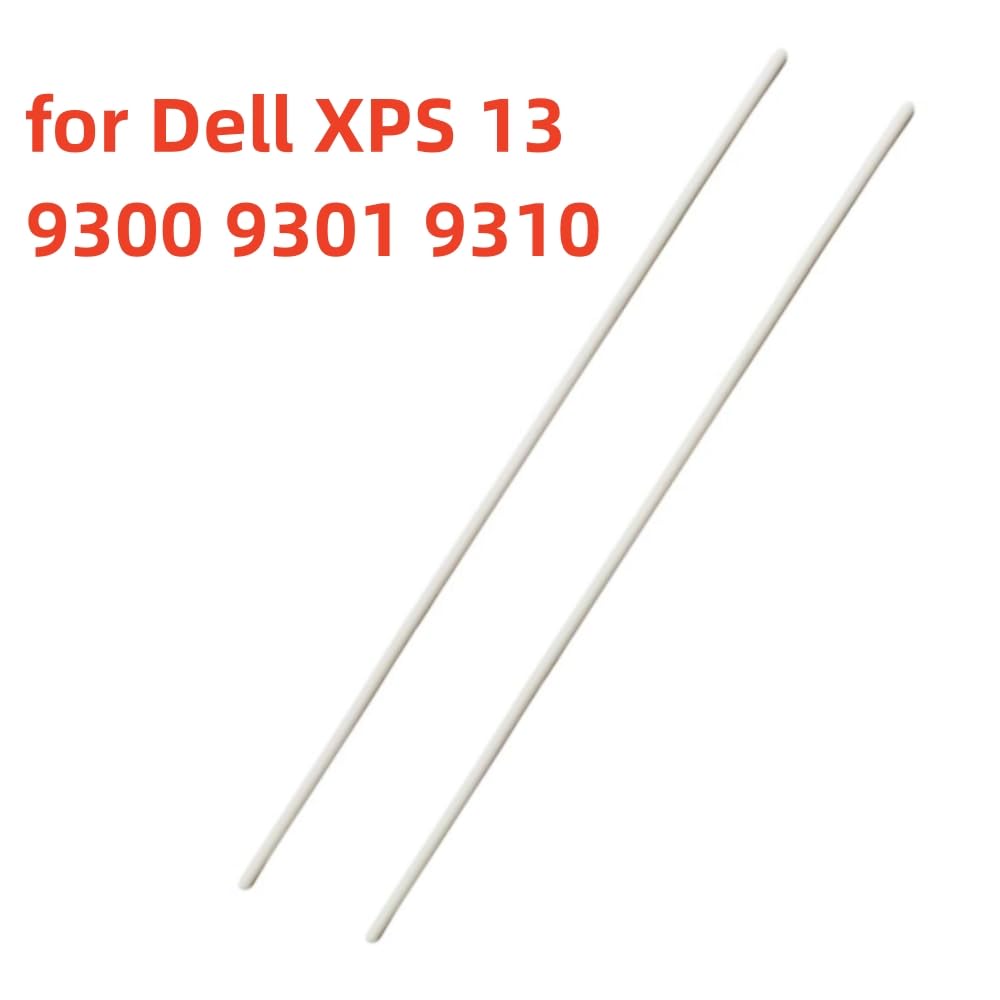
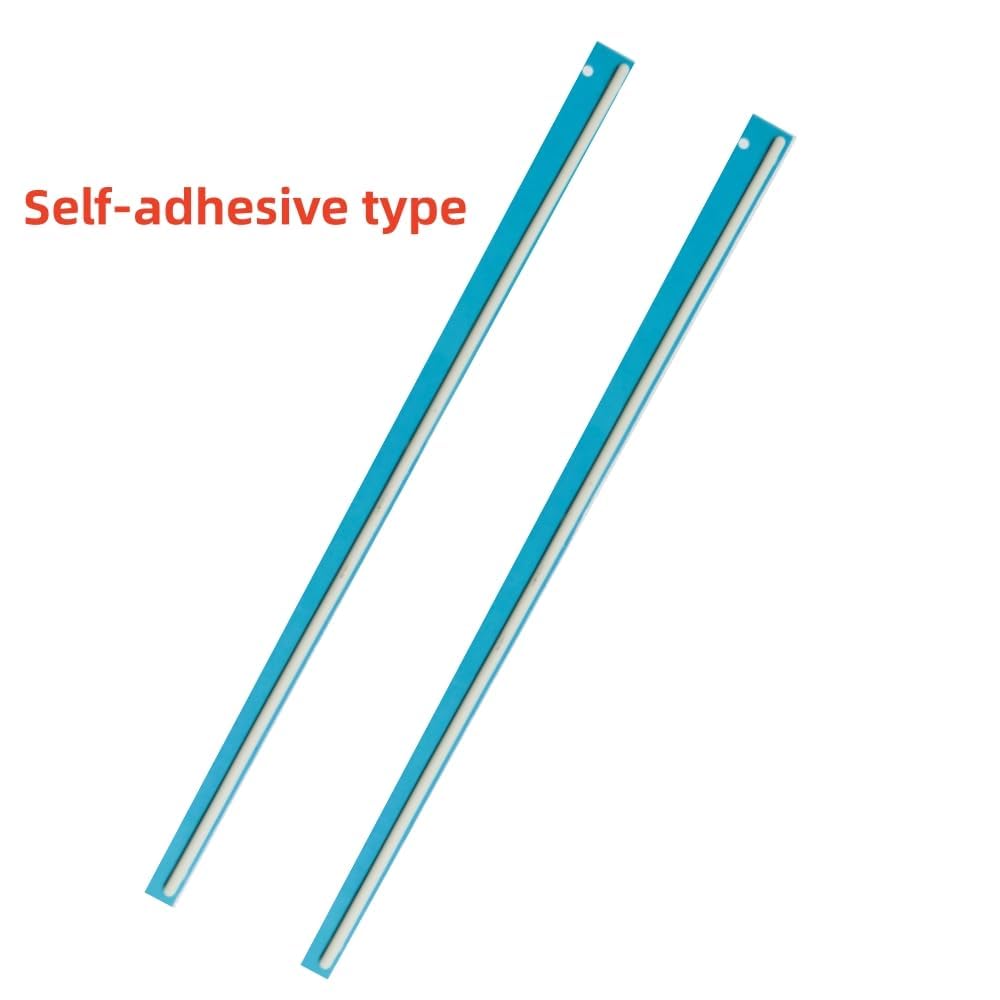
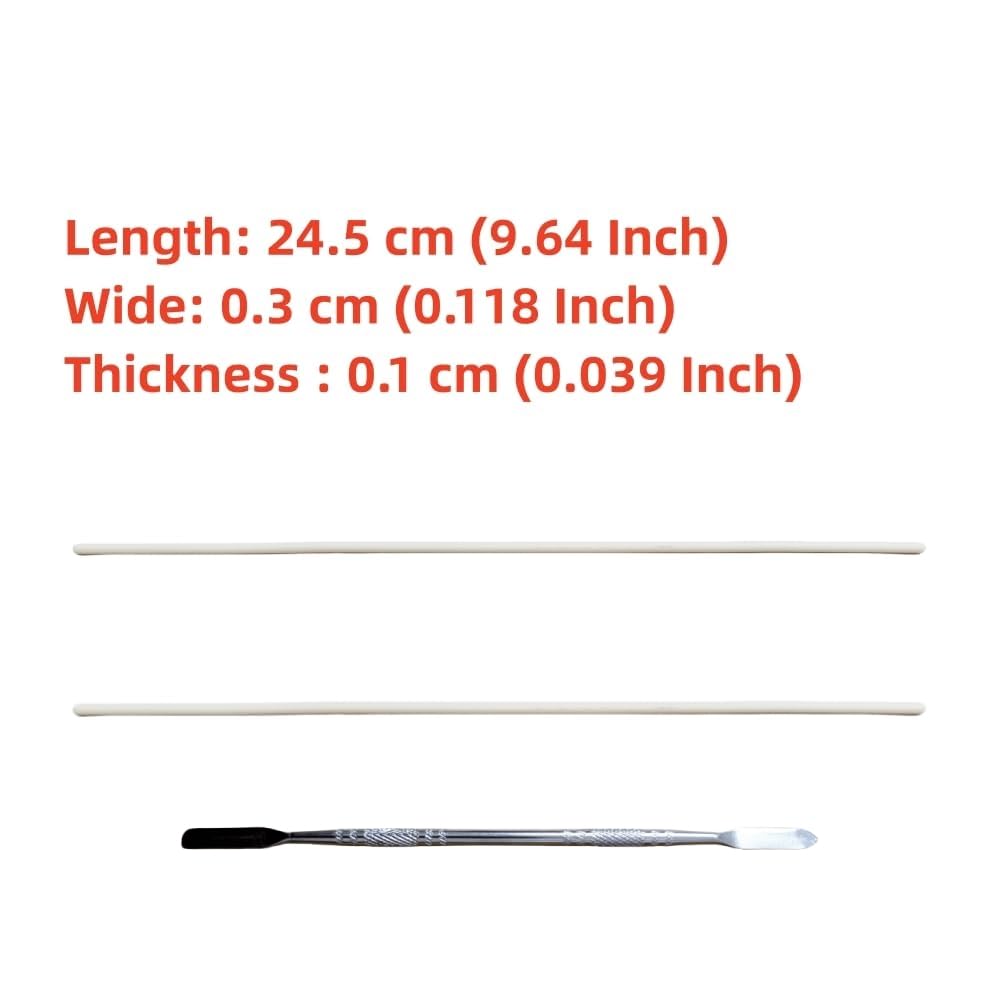
This replacement bottom case rubber feet strip set is custom-made for Dell XPS 13 models 9300, 9301, and 9310. Crafted from high-quality non-slip silicone, it provides enhanced stability and protects your laptop from scratches and sliding. The package includes two precision-fit rubber feet strips and a pry bar tool for professional-grade installation. Designed for easy removal of old pads and adhesive, it ensures a clean, secure fit that restores your laptop’s original stability and style.
| ASIN | B0DHXKDG11 |
| Best Sellers Rank | #28,401 in Computers ( See Top 100 in Computers ) #75 in Laptop Components & Replacement Parts |
| Manufacturer | xifaven |
| Package Dimensions | 24.76 x 8.25 x 2.54 cm; 45 g |
O**E
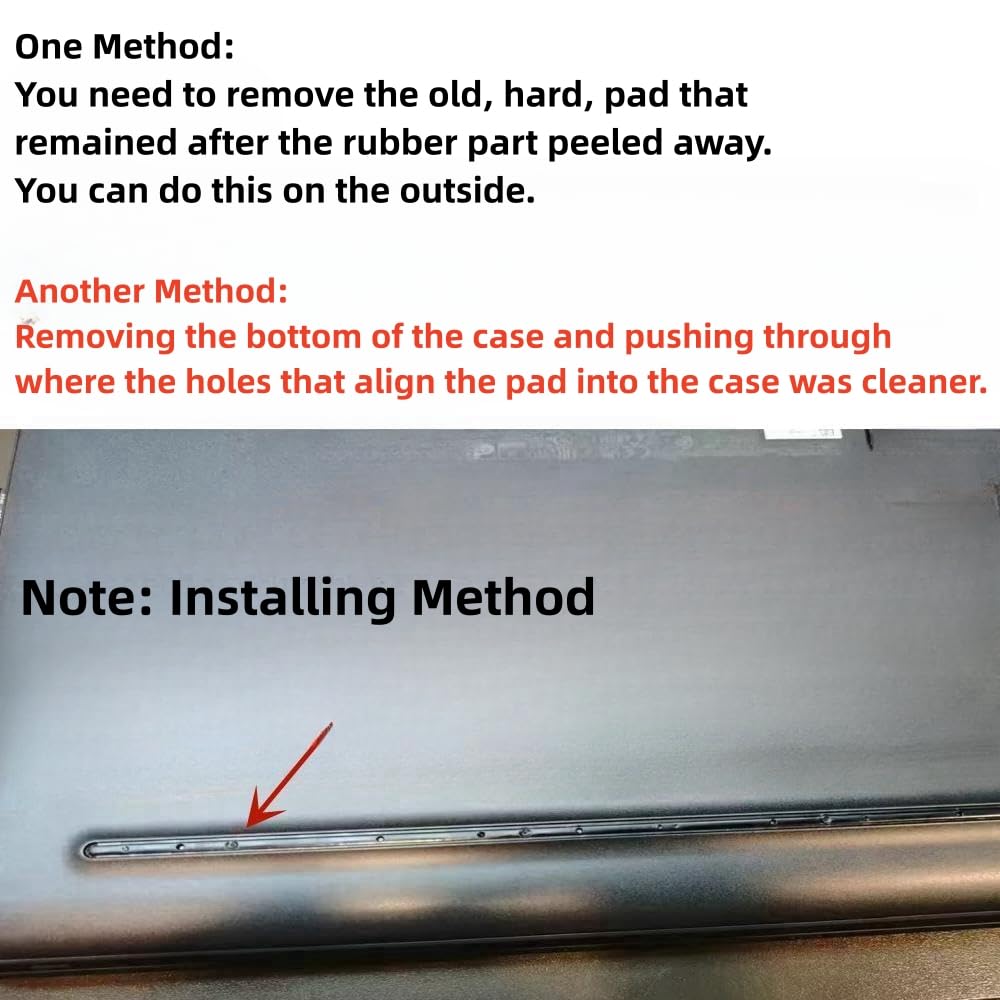
These are an excellent replacement for the bottom feet that eventually peel. Installation is easy, but removing the old feet can be challenging. Recommend light heat from dryer or heat gun, then try to punch them out from the inside. If they are old and brittle like mine use a small flathead to get underneath to scrape them off. Removing most of the remaining old hard adhesive is crucial for a solid fit of the new ones.
W**O
Not only where they not for my xps they where also a bit smaller
J**E
These actually are a good-fit replacement on my XPS 13 9300, but the lack of instructions, combined with Dell's awful decisions make installation much harder than it needs to be. Many of the bad reviews that say these "do not fit" are either due to installing on the wrong laptop, or due to being reasonably confused about what you bought and how to use it. First, You MUST remove the bottom of the laptop case and pop out the corners of the plastic bar of the original laptop foot, by pushing hard through the tiny holes. You are fighting industrial glue, so once it gives way, the plastic is likely going to snap off and go flying. Some of the holes are actually hidden by other things, so you will probably end up with some plastic remaining. I used a utility knife to pry up the plastic remains, but the included tool might work if the glue is weaker than mine. Once the "channel" in the case bottom is exposed, you'll see a lot of leftover glue. I actually just left it there, assuming this new foot would bond to the rough surface, but in theory you may could remove the old glue with a solvent in order to have the new foot adhere directly to the aluminum of the case. Then comes the most important part - BEFORE removing the plastic strips that are protecting the adhesive of the new feet, take advantage of the fact that the little nubs are exposed in order to practice lining the foot up with the case. For some crazy reason, the holes in the case are NOT symmetrical, so you can end up getting a bad fit if you do not do this dry-fit first. If the nubs are not lining up, spin the new foot around, and they should be fine! After that, it is as simple as slowly gradually pulling back the plastic strip as you fit the foot into the channel, paying attention to make sure that the nubs fit in the holes of the laptop case. The good (?) news is that when this strip wears out, it is just glued to the bottom of the case, so it can be removed without too many headaches, and replaced with another one of this type. So, why do I only give this three stars, even though I plan to buy more? 1. No instructions, which is making people do things like cut the new foot to try to make it fit over the plastic strip that actually should have been removed from the case before installation, or line the new foot up such that it doesn't fit flush with the case. 2. The adhesive was much weaker than I expected it to be. Maybe I got a bad batch, but one of my feet actually had already sort of dried up, and the plastic strip that was protecting the adhesive was loose in the case. I ended up throwing that one out and only having one good foot to use. The flip side of this issue is that the glue has some play to it and you can make adjustments while you seat the new foot in the channel. Perhaps this product should come with a small tube of glue for putting into the channel, to make sure the foot stays installed for a while. 3. Bad Packaging. The feet and metal tool were packaged loosely together in a thin bubble mailer. I think this lame packaging contributed greatly to the way my feet arrived, and the parts were shifting around and pulling the plastic protectors off of the adhesive causing it to dry out. It would have been much better for the three individual pieces to be in their own paperboard and/or plastic sleeves in order to protect them from one another and/or the rigors of shipment.
J**S
Rubber feet are slightly longer than the grooves, requiring some trimming for a proper fit. Unfortunately, the supplied tool proved ineffective, making removal more challenging. I resorted to using a pocketknife to take off the plastic feet.
J**.
The pads definitely fitted my XPS 13 9310, but with no thanks to the included "tool"...which is a walnut cracking tool. It is not nearly thin enough to get under the old feet. Additionally, at least on my XPS, the original feet are a rubberized foot attached to a solid plastic base, so I needed to take the back of the laptop off and push the old feet out of the holes. I don't know if other models that these are designed for will have the same issue, but just a warning for those with the 9310 may have a bit of a go getting this to work. The feet have different alignments, so make sure to pre-align where the little bumps will go since there is a difference between the front and rear feet.
Trustpilot
2 weeks ago
1 month ago


