Some deliveries may take a little longer than usual due to regional shipping conditions.

DOWNLOAD THE APP


Customer Services
Copyright © 2025 Desertcart Holdings Limited
DOWNLOAD THE APP
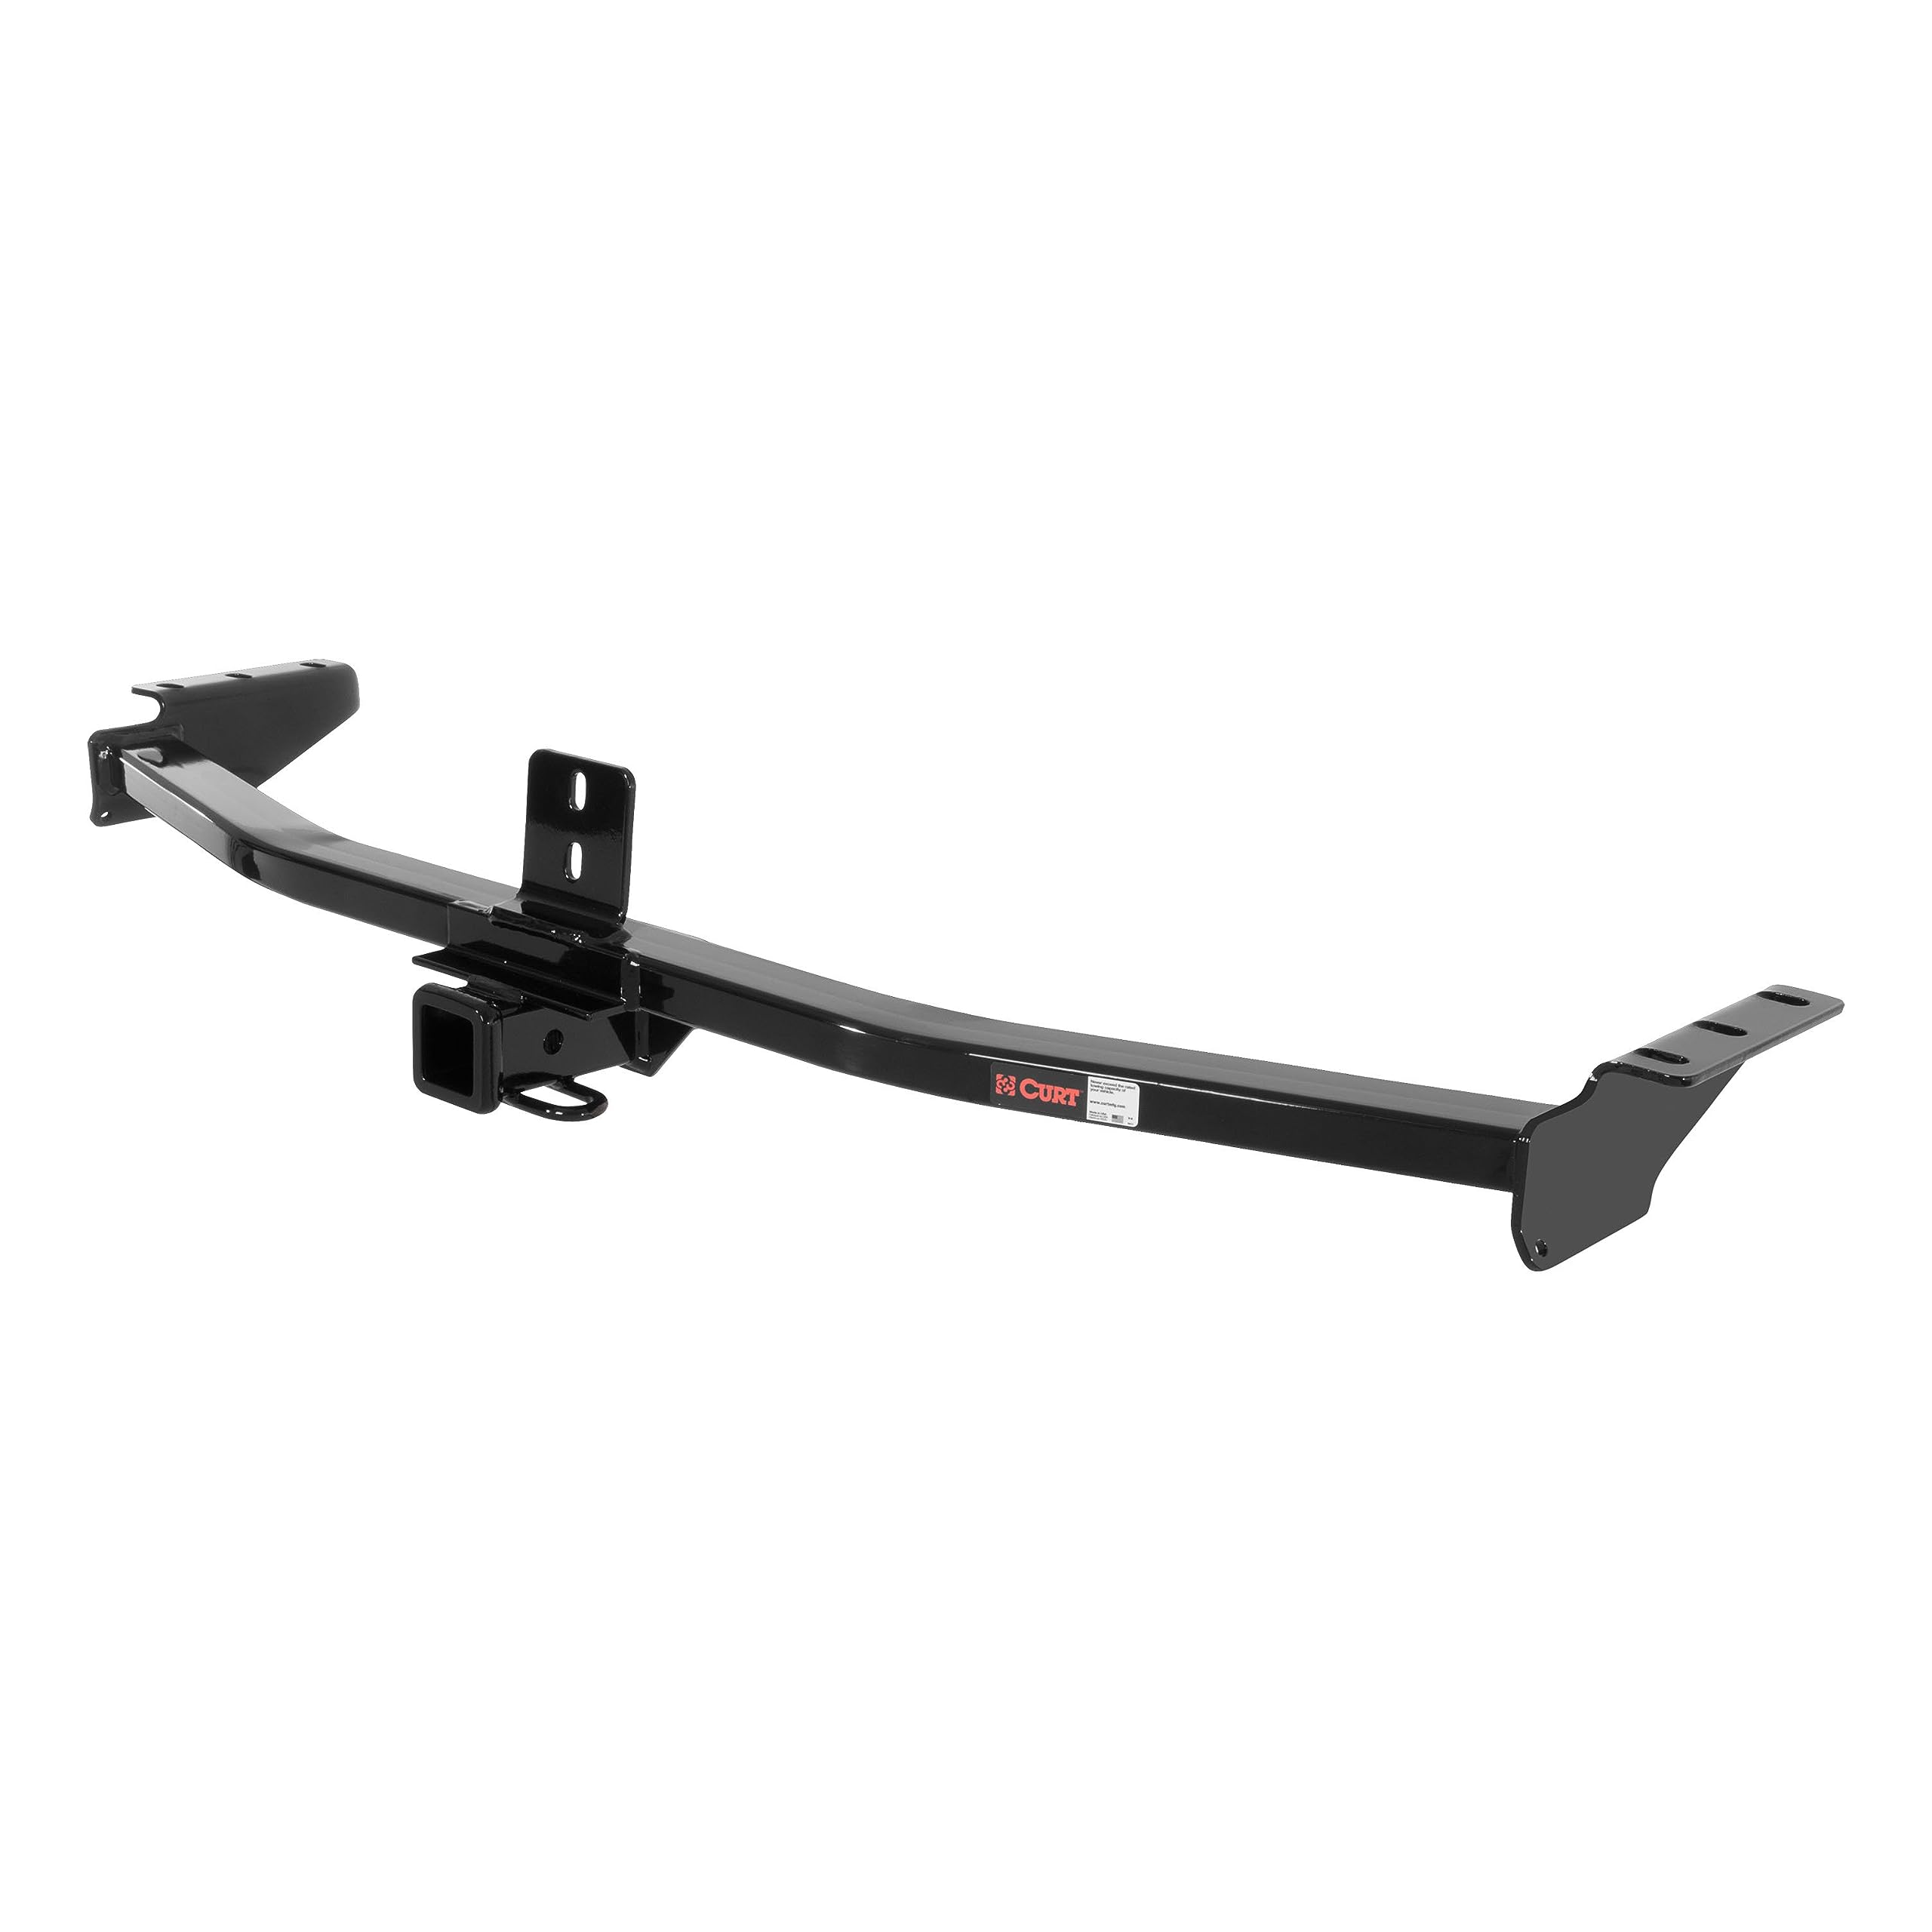
🚗💪 Tow Boldly, Tow Smartly — The Hitch That Means Business
The CURT 13328 Class 3 Trailer Hitch is a rugged, vehicle-specific towing solution designed for select Acura MDX and Honda Pilot models. Rated for up to 3,500 lbs gross trailer weight and featuring a durable dual-coat finish, it offers superior resistance to rust and UV damage. With a standard 2-inch receiver and SAE J684 safety certification, this hitch delivers reliable, heavy-duty performance and a precise fit that makes installation straightforward for professionals and DIYers alike.


| ASIN | B00075XCCG |
| Automotive Fit Type | Vehicle Specific Fit |
| Best Sellers Rank | #1,205,167 in Automotive ( See Top 100 in Automotive ) #2,605 in Towing Hitch Receivers |
| Brand | CURT |
| Customer Reviews | 4.6 4.6 out of 5 stars (852) |
| Date First Available | February 13, 2005 |
| Exterior | GLOSS BLACK POWDER COAT |
| Finish Type | GLOSS BLACK POWDER COAT |
| Global Trade Identification Number | 00612314133284 |
| Is Discontinued By Manufacturer | No |
| Item Weight | 38 pounds |
| Item model number | 13328 |
| Manufacturer | CURT |
| Manufacturer Part Number | 13328 |
| Material | Carbon Steel |
| Maximum Towing Capacity | 3500 Pounds |
| Model | Class 3 Hitch |
| OEM Part Number | 13328 |
| Position | Rear |
| Product Dimensions | 18 x 60 x 11 inches |
| Pull Force | 3500 Pounds |
| UPC | 612314133284 |
| Vehicle Service Type | ATV, Car, Marine-Personal-Craft, Pickup Trucks, Snowmobiles, Sport-Utility-Vehicles, Trailer |
T**Y
Receiver Hitch Fits Great on 2005 Honda Pilot!
This hitch is of a nice professional quality! Even the paint is glossy with a rugged finish. I was very happy with how well it fits under the car. It barely sticks out under the bumper. The installation was not that bad of a project. If you go to the Curt main website they have a quick but helpful video on how to install this particular hitch. I backed the Pilot up on car ramps to make it easier to get to, but not really necessary. I lowered the spare tire with the jack wrench and took it off the cable and sat it out of the way. I removed the tow hook and bolts on the driver's side of the frame. There was no rust in any of my existing bolt holes in the frame. I just ran a little pipe brush inside each hole to clean out the dirt and then sprayed some lubricant inside them. I removed the 3 rubber exhaust pipe and muffler hangers using spray lubricant and then just popped them off using a wooden dowel rod and hammer. Not a big deal once I figured that out! I supported the exhaust pipe with wooden blocks once the hangers where removed. The "half moon spoiler" my instructions referred to must have been the heat shield above the muffler? I removed that to make installation easier. That was no big deal just three 10mm bolts. That was the prep work! To actually install the hitch I kind of did a bench press action and laid one side of the hitch on top of the loose muffler. I raised the driver's side of the hitch and started a couple of bolts to hold it in place. Then went to the passenger side and started the bolts above the muffler. Then put the bolts in the middle by hand. I tightened the middle bolts first then the driver's side and finally the passenger side. Then put the heat shield back on, and popped the 3 rubber muffler clamps back on, and raised the spare tire back in place. The heat shield barely touched the hitch after the installation. So I just slightly bent the shield with pliers so it wouldn't touch the hitch and cause any vibration or rust problems. Not a big issue really. I was done in about 45 minutes and I am in no way a professional! As soon as I finished the installation I attached a 20" x 60" cargo hauler to the hitch. This is my wife's car but she let me take it hunting to the Texas hill country providing I didn't put any dead deer inside her car! LOL! So, I bought the cargo carrier to haul any animals we killed back to camp. It turns out the only thing we killed was time!! LOL! I did use the cargo hauler to put mesquite limbs and other firewood back to camp so we could keep the fire going! The hitch and cargo carrier worked great!! I think it looks like an expensive high quality hitch but at a blue collar worker's price! LOL! The dealer wanted $800 to put a hitch on our Pilot, and local Uhaul wanted about $270. So you can save some decen't money by doing it yourself!
R**I
Perfect fit - Quality Part
The hitch fit my 2004 Honda Pilot perfectly and was an easy to do Sunday afternoon project. The Hitch shipped quickly and arrived in good shape. It seems well built and has a thick coating on it and I would suspect will last a long time. Before you start make sure to gather all the materials you will need. Because I have a 2004 there was some serious rust and junk on the underside of the care. I would suggest the following extra tools: LONG handle ratchet (I used my torque wrench) Deep Sockets (otherwise you will be banging your knuckles a lot) Some Loctite A small wire brush (get the cylindrical ones they sell in the pipe department at your local home store. Stainless bristles are best). LOTS of WD-40! In my case I lowered the spare, but did not drop the muffler (I don't think it is necessary). I spend a good 50-60 minutes just cleaning out the bolt holes. I kept spraying them and working the brush into the holes. I would then check the threads with one of the bolts I took off when I remo ved the tow hook. At first the bolts would not even go in the holes, but with some patience and lots of WD-40 and elbow grease they came very clean. CHECK all of the bolts (8 in total) BEFORE you hoist the hitch into place if you want to save a lot of aggravation. Once it was all clean I hoisted it into place and with the help of my 11 year old son it went fairly quickly. He held the one side while I started the other bolts. It's all done, looks great, and you can't beat the price for the quality!
B**A
Super HQ Hitch & 20 Min DIY Install... Yesss!
A fantastic buy for $130, this hitch American made hitch appears to be VERY high quality! The fit and finish are top notch, as the powdercoating is THICK and very evenly applied. I imagine this hitch will last forever! Install was a breeze, but DO YOURSELF A FAVOR and spray the mounting holes with WD40 or PB Blaster and then dab a little anti-seize on the threads. Next, using an impact (if you have one) work a mounting bolt in and out of each hole BEFORE you try to hold the hitch, line up the holes and finger start some threads. I ran a bolt about halfway in, pulled it back out, sprayed some more oil in the hole and then ran it all the way in. Do this to each of the 8 mounting holes first. Side mounting bolts are 19mm; the bumper mounting bolts are 17mm. Once you've done the above, use a floor jack (or a pair fo friends) to lift and hold the hitch up on the frame. Start a bolt on one side, using a rachet to run bolt about 90% of the way in. Only inserting the bolt 90% allows you to easily wiggle the hitch around and line things up just right. Now switch sides and run another bolt in the other side, again only running it in about 90%. As the hitch will now just hang from the vehicle, you can remove the jack and send your friends to get you a beer. Using a rachet, install the remaining 4 mounting bolts about 90% of the way. Next, install the smaller middle bolts located on the back of the bumper. These you will tighten down all the way. Using an impact or rachet, you finish tightening the 3 frame bolts on each side of the hitch. Gently bend the muffler shield away from the passenger side of the hitch if you find they are touching each other. I had to bend mine inward about 1/4" That's it; you're done! Send your friends for another beer and move onto the plug install, which literally takes less than 5 minutes! :) INSTALL NOTES: For Honda Pilot (2008) you DO NOT need to jack the vehicle up or loosen the muffler hanger. Though dropping the spare tire will make it easier for you to tighten the bumper bolts, if you have a 17mm rachet wrench you can leave the spare tire mounted to the car
C**J
Works as intended, easy install.
C**T
Easy install, bolts and washers included
S**O
Easy to install
M**T
Great
A**R
was a little hard to get around exhaust but not bad.
Trustpilot
3 days ago
1 week ago