


⚡ Upgrade your connection, upgrade your life!
The NTE5C MK2 + VDSL MK4 OpenReach Telephone Master Socket with back box is a next-gen replacement socket designed for VDSL/VDSL2 broadband users. It features tool-less 2-wire installation, built-in ADSL filtering, and removes outdated surge protectors to boost internet speeds by approximately 2Mbps and improve signal-to-noise ratio by 2dB. Ideal for DIY upgrades, it includes a quality backbox and mounting screws for a seamless, professional installation.
| ASIN | B07LFMPVX4 |
| Best Sellers Rank | 55,162 in Electronics & Photo ( See Top 100 in Electronics & Photo ) 1,544 in Telephones, VoIP & Accessories |
| Guaranteed software updates until | unknown |
| Item model number | 2021-01FU-4-43022 |
| Manufacturer | openreach |
| Package Dimensions | 13.5 x 12.4 x 7 cm; 160 g |
A**W
Easy to change, improves S/N performance.
Easy change replacement for the earlier generation if Openreach/BT termination box. Just two wires needed - and there should only be two connected in an existing master socket - so cut the old off (one at a time) insert wires into tool-less connector and push down. That’s it. Ideal for connections with VDSL/VDSL2 as the design is better for higher speeds. You can also remove any ADSL filters too as they are now inside this version. No anti-surge in these versions - which really isn’t an issue of any type unless you are on top of a hill or in a lightning prone area! I changed the master socket to one of these in under 10 minutes and saw an immediate increase in line traffic speeds of approx 2Mbps download. This is on a 40/10 VDSL circuit. Signal to noise improved by about 2dB. Line length is just over 750m.
D**D
OpenReach Telephone Master Socket
My internet seemed to very slow at times and my provider does not seem want to know. So I decided to see if fitting a new phone master box could fix the problem. So I went on YouTube to see if there were any videos on how I could install it myself and found a video by an ex BT engineer on how to do this. It is really so simple to do and I was amazed to find that there is only two cables to wire in. Believe me it is no harder than fitting a plug. My internet is now more stable and I don't seem to have anymore slow downs. So if you got the same problem I had, buy this and fit it yourself.
D**S
Great item
Great item and great value
M**R
Does the job perfectly and speed has increased.
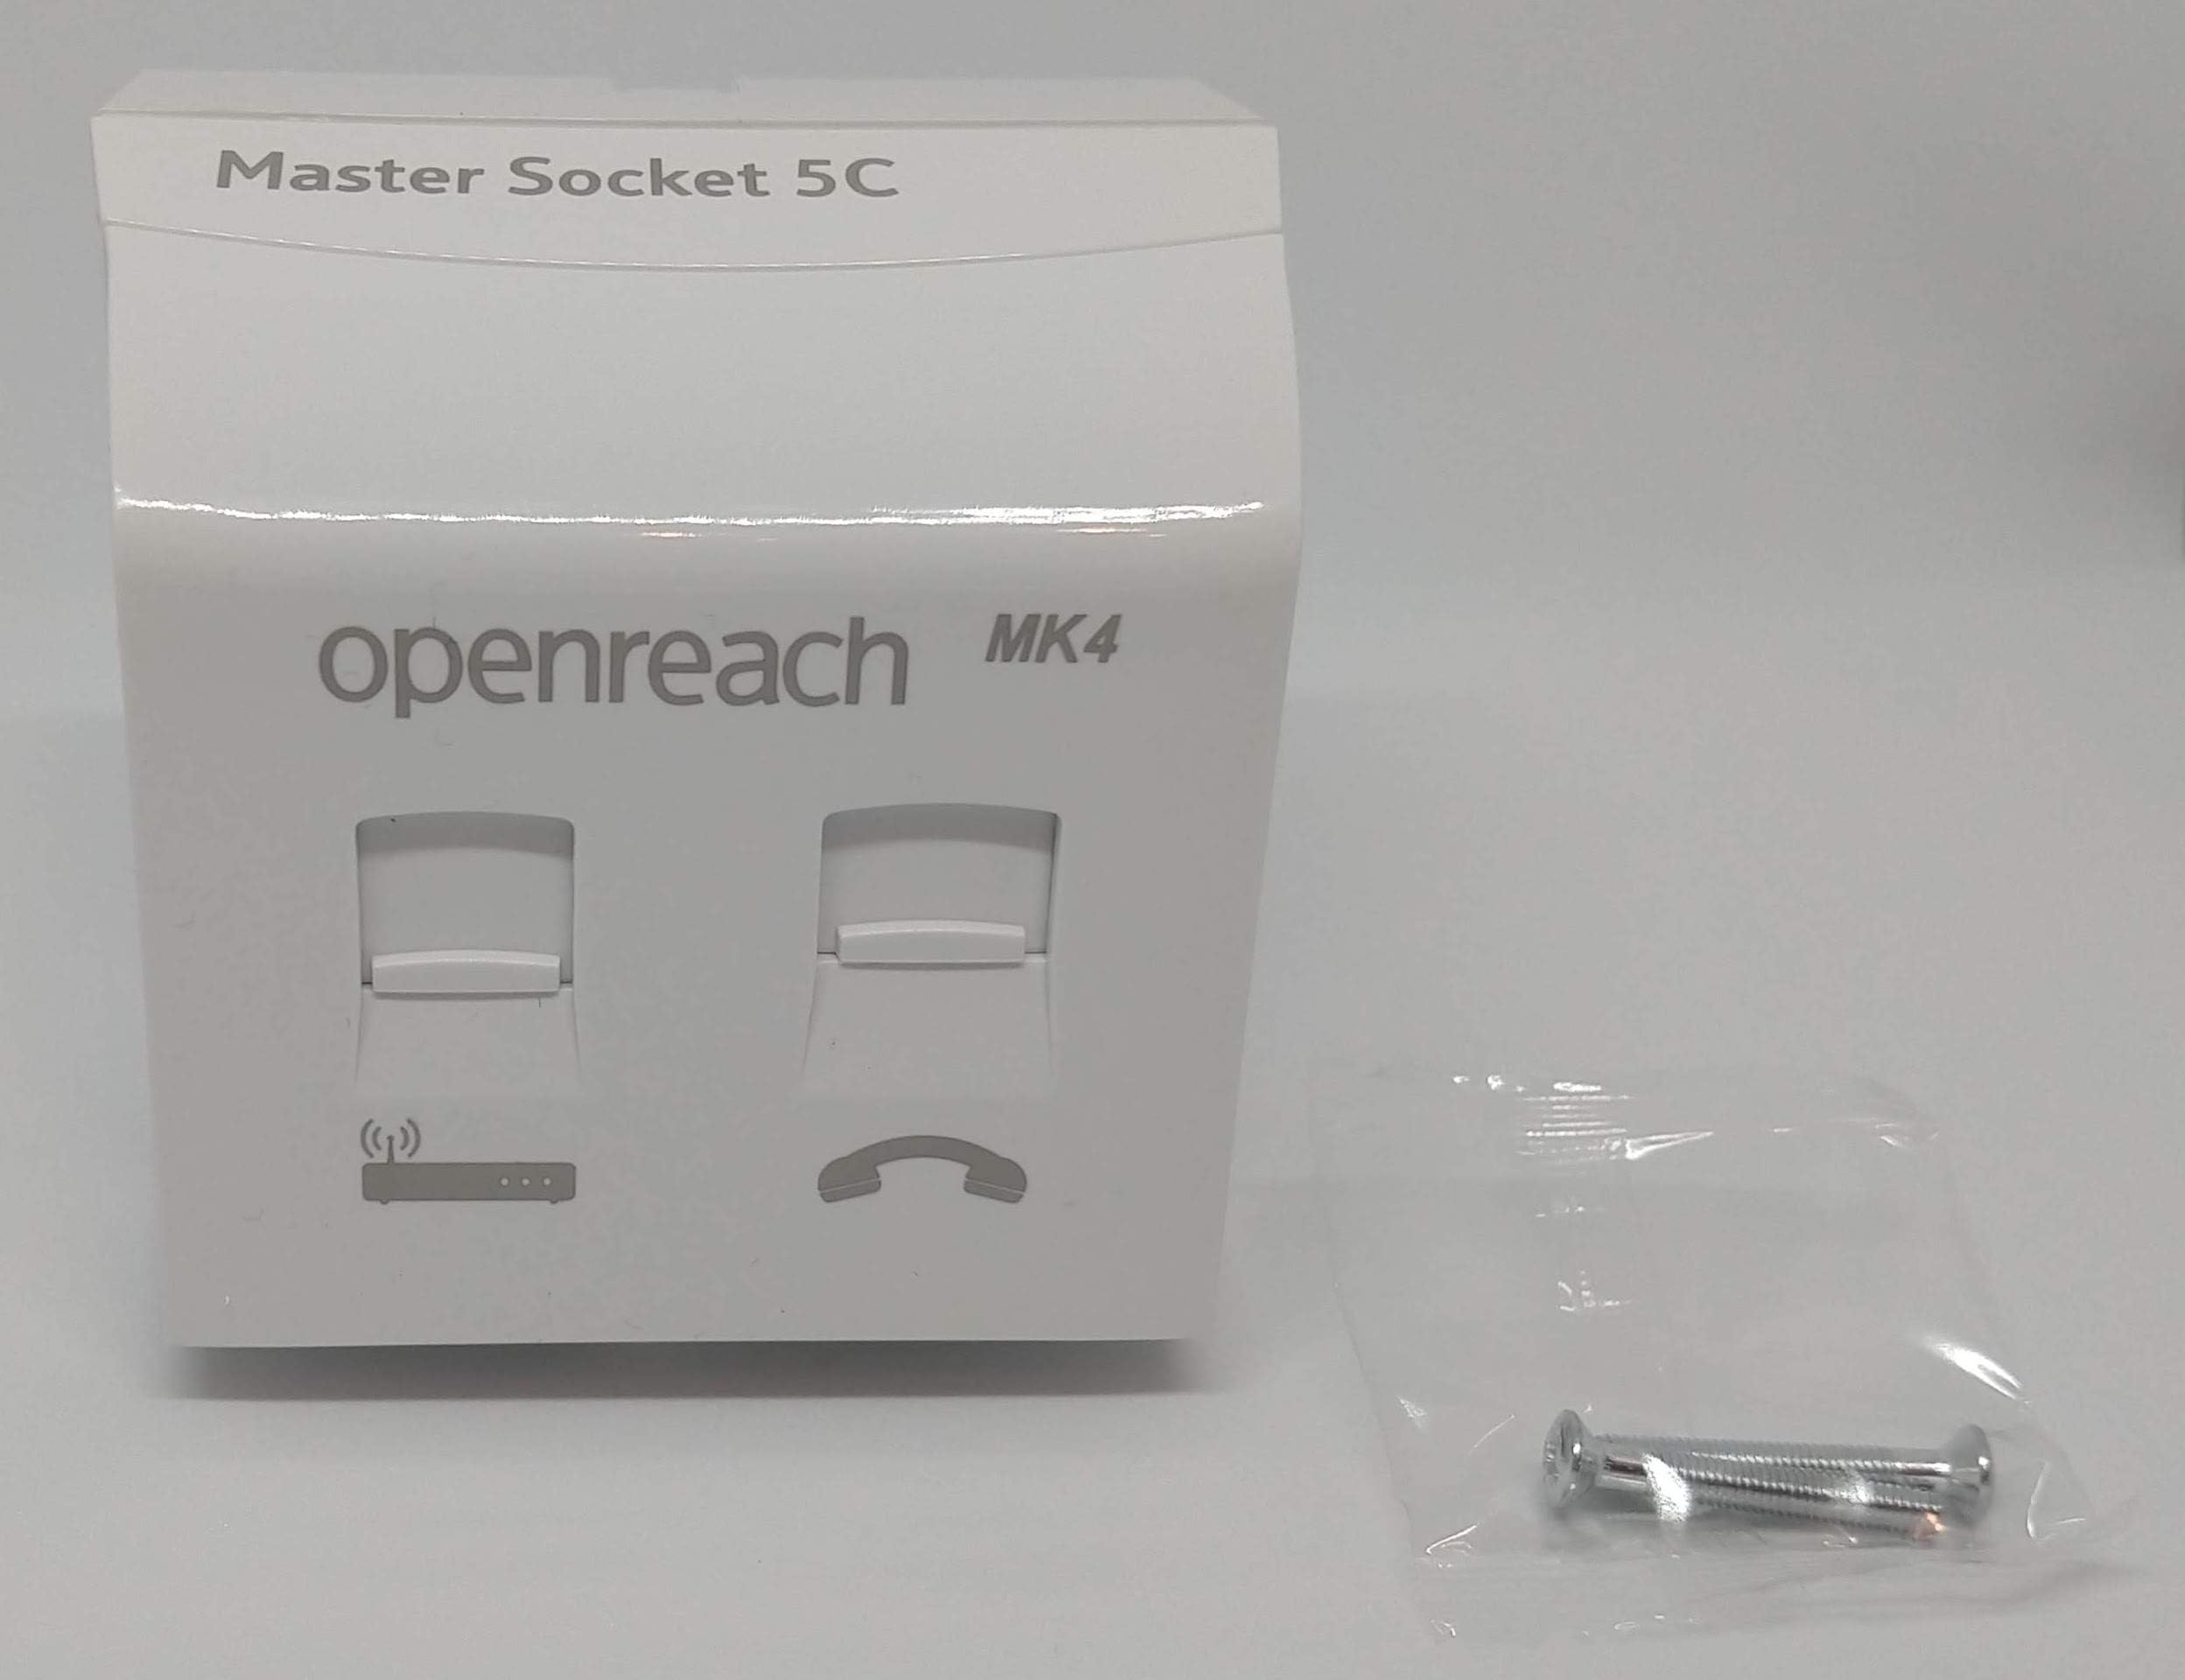
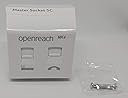
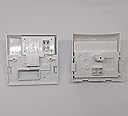
Decided to tackle the job of rewiring the internal phone line to a new location and needed a new Master Socket. We had an 1980's Master Socket screwed to a skirting board in our spare room upstairs, which we are currently renovating and it just wasn't practical to have the router and all the other gadgets we have connected staying in there. I installed a new IDC junction box where the Phone Line enters the property and run new copper from its location up and over, dropping back in under our stairs where I wanted the new Master to be. Back box is a separate item to the package, bit flimsy but does the job fine. We have seen a improvement in speed since the change. We have Fibre with Vodaphone and we never was able to achieve the required sync speed which we were supposed to be guaranteed. This new Master has improved our download speed by 5 - 6 Mbps. Used to average speeds of 18 - 20 Mbps and now getting around 26 Mbps download (Vodaphone sync speed is now showing 27.4 Mbps) The swap would be even easier if you are exchanging sockets rather than re-running to new location. 15 mins tops, screwdriver and snips is all you need. As a basic guide, most properties usually only have two cores/wires into the house. Those two main wires need connecting up to the rear of the main plate (not the filter plate) and the connection location is situated top right on the back, marked A and B. Any extensions you may have or want to add are then connected to the front of the main plate where the locations are numbered. You can have two wires per idc if needed for more than one extension. On our property the wires feeding in to the house from the pole are Orange and White. I connected these to the junction box I fitted and then joined two wires of the newly run cable (Blue with white and White with blue) to the matching points in the junction box. It doesn't matter which way round it's connected as long as they are "joined" in some way. I followed the same setup as per what was originally connected around the house. I then connected the same wires (Blue with white and White with blue) to the new Master, screwed it up, clipped on the filter plate and connected up the router and other gadgets and that was job done. Lots of videos on YouTube which can help. MyMateVince (mrtelephone.co.uk) is one which is very helpful.
S**E
Download speed improved 8%
Decided to update my existing 5 year old master socket, given the household broadband has had a hammering during 18 months of lockdown ! It's very straightfoward to do as a straight replacement, and took me about half an hour all-in. It's also toolless, in that the 2 BT wires go into an inner socket which strips their coatings as you snap it shut. Very handy. Other reviewers have mentioned the faceplate has a bit of a flimsy snap-on connection, but mine appears fine so maybe a different batch. On BT Infinity my existing download speed was a consistent 62Mbps, but this has now improved to 67Mbps with this new socket. So very happy we're getting an extra 8% download speed. Upload speed is unchanged though at 21Mbps. Easy 5 star from me.
S**N
Great design.
I needed to replace a very old BT master socket, originally installed apparently by the apprentice of a BT engineer's pet monkey. I've installed a few master sockets and extensions over the years, but this was the easiest yet. 1. Screw back box into skirting board. 2. Clamp 2 wires into the correct spots on the midplate thing. 3. Attach faceplate. 4. Plug in broadband. The only things I needed were 2 wood screws and a screwdriver to screw everything together. All done and dusted within 10 minutes. Did it improve my broadband? Not as much as moving my router to the master socket and disconnecting the existing extension, but at least now I don't have micro-filters hanging off 2 sockets.
C**H
Easy to fit. Latest technology.
This is very easy to fit. The IDC connectors now have a push-fit design so you don't need to use a 'Krone' insertion tool. Once it all clips together, it is a very solid fit. Data (non filtered) socket can take either an RJ11 or RJ45 depending on wht the cable to the modem/router is terminated with. It may not look like it, but the internal wiring (if used) is automatically disconnected when the front plate is removed, allowing testing of just the BT side cabling. This is the same as previous designs but with them, the internal cabling came away with the front plate making it obvious. This employs a clever design to disconnect it without the cabling moving, so it is easier to keep that neat/cable tied. Won't be much of a need for extension wiring soon though, with the analogue landline switch off in 2025 and the switch to VOIP.
Trustpilot
1 week ago
2 weeks ago