Description
🚀 Print Faster, Smarter, Cooler — Join the 3D Printing Revolution!
- COOL CONTROLLED - Dual-channel effective cooling fans maintain optimal print quality and reduce defects.
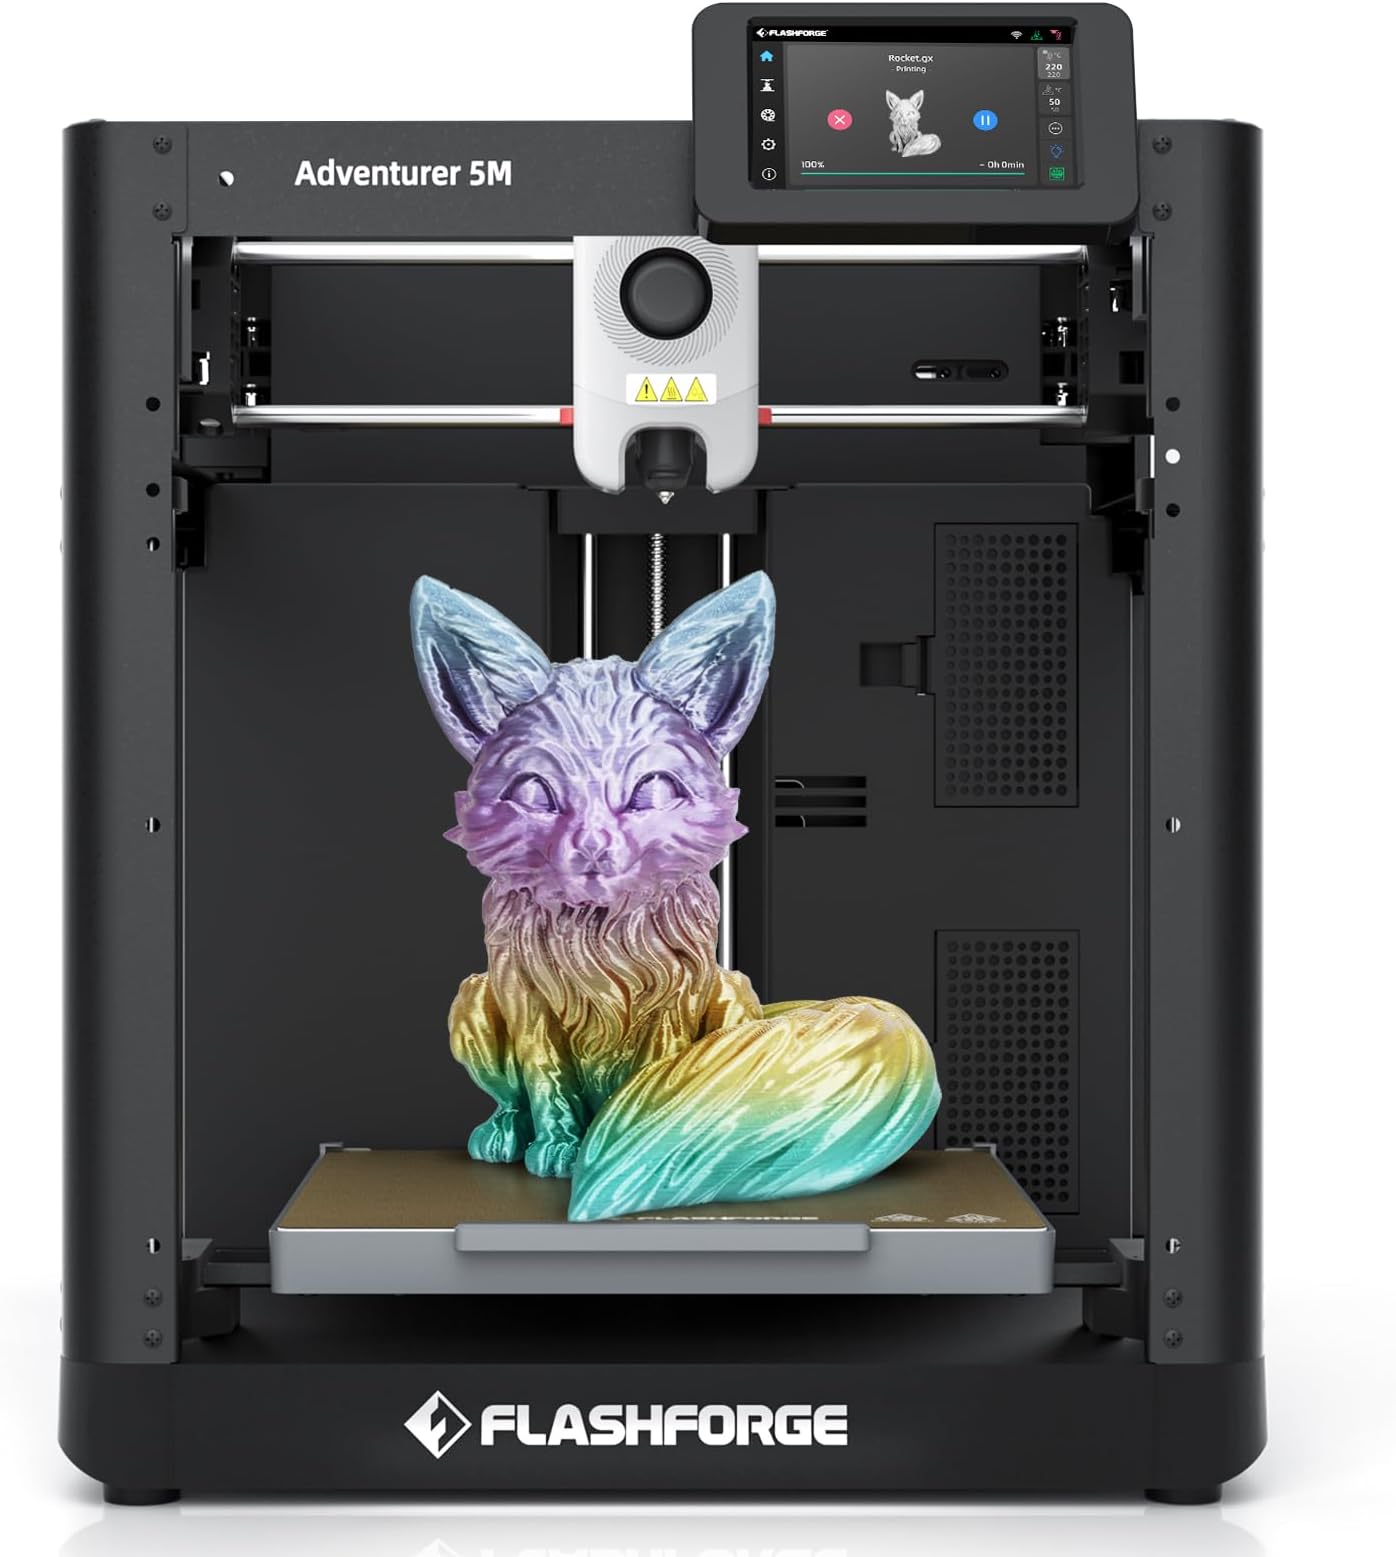
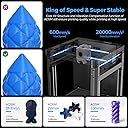
- BLAZING FAST PRINTS - Core XY structure delivers up to 600mm/s travel speed, slashing print times by over 70%.
- EFFORTLESS PRECISION - One-click automatic leveling ensures flawless first layers every time—no manual fuss required.
- SMART REMOTE MONITORING - Control and monitor your prints from anywhere with the Flash Maker app and optional camera kit.
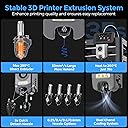
- VERSATILE NOZZLE OPTIONS - Interchangeable nozzles (0.25-0.8mm) let you switch between ultra-fine detail and high-efficiency modes.
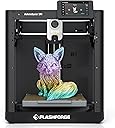
The Flashforge Adventurer 5M is a high-speed FDM 3D printer featuring a robust Core XY all-metal frame, capable of reaching 600mm/s travel speeds and 20,000mm/s² acceleration. It boasts fully automatic bed leveling, a 280°C direct extruder with quick-detachable nozzles, and dual-channel cooling for superior print quality. Designed for both beginners and pros, it supports a wide range of filaments and offers smart remote app control for seamless printing anywhere.