Description
❄️ Stay Cool, Stay Ahead — The Ultimate Thermal Upgrade for Your Powerhouse
- BUILT TO ENDURE - Survives 1000 hours baking at 150°C and 1000 thermal cycles without performance drop
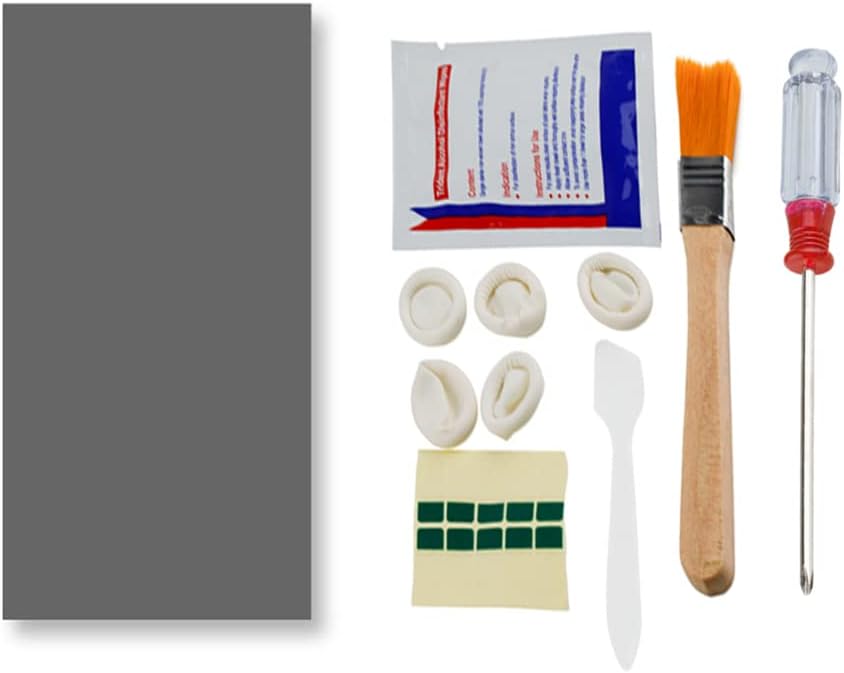
- ALL IN ONE PRO KIT - Includes screwdriver, cleaning wipe, spatula, gloves, and brush for flawless installation
- ULTRA LOW THERMAL RESISTANCE - Maintains <0.04°Ccm²/W impedance for superior heat dissipation
- NEXT LEVEL COOLING EFFICIENCY - Phase Change Material activates at 45°C for optimal heat transfer
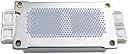
- PRECISION FIT FOR HIGH PERFORMANCE GEAR - Exact 40x80x0.25mm size tailored for PS5, Steam Deck, SSDs, and laptops
The PTM7950 is a cutting-edge phase change thermal pad and silicone grease combo designed for elite cooling performance. With 8.5 W/mK thermal conductivity and a phase change at 45°C, it ensures your PS5, Steam Deck, CPU, GPU, SSD, or M.2 laptop components run cooler and more reliably. Engineered for longevity, it withstands 1000 hours at 150°C and 1000 thermal cycles, maintaining ultra-low thermal impedance. The package includes all essential tools for a professional-grade installation, making it the go-to choice for tech-savvy professionals demanding peak performance.