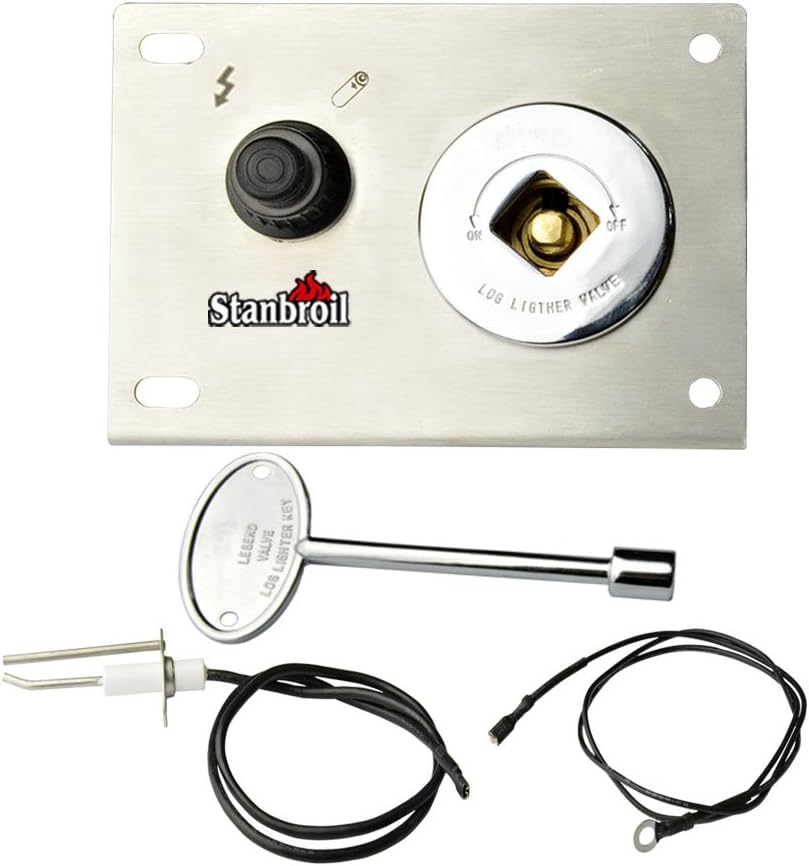
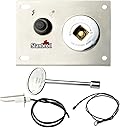
Description
🔥 Ignite your outdoor vibe with a single push!
- INSTANT SPARK IGNITION - One push starts your fire pit—no more matches or lighters.
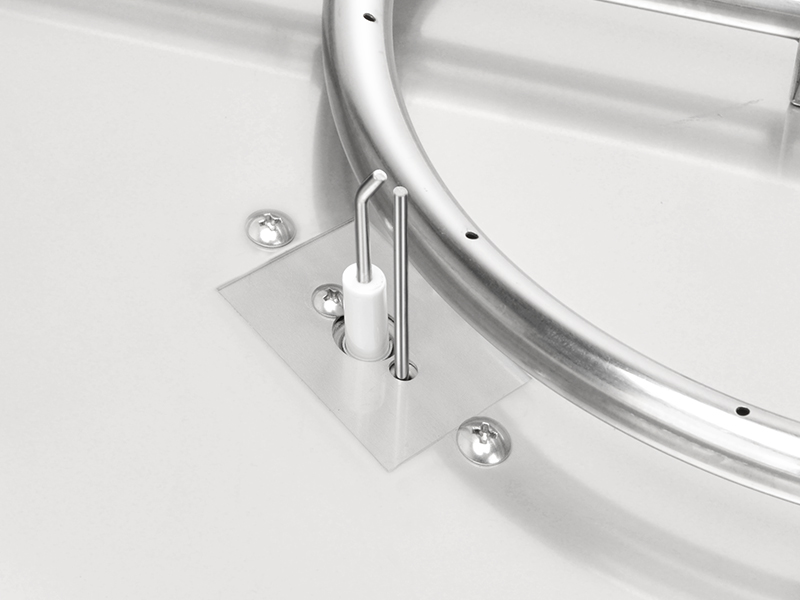
- COMPACT COMPATIBLE DESIGN - Fits most DIY fire pits; includes convenient fittings for quick installation.
- OPTIMIZED GROUND WIRE SETUP - 48-inch ground wire ensures reliable ignition every time with minimal fuss.
- DURABLE STAINLESS STEEL FACEPLATE - Sleek, modern finish built to withstand the elements and elevate your outdoor setup.
- SECURE CHROME BALL VALVE WITH KEY - Precision gas control with safety lock for peace of mind.
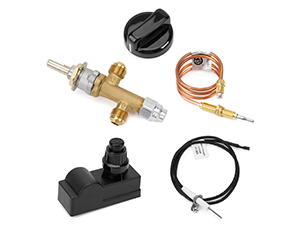
The Stanbroil Fire Pit Gas Burner Spark Ignition Kit transforms your manual gas fire pit into a modern, push-button ignition system. Featuring a durable stainless steel mounting plate, a chrome keyed shut-off valve, and a reliable spark ignitor with 48-inch leads and ground wire, this kit offers easy installation and enhanced safety. Perfect for DIY enthusiasts looking to upgrade their fire pit experience with a sleek, professional finish.