We remain fully operational. Our teams are working around the clock to ensure your deliveries continue safely.

Descargar la aplicación


Servicios al cliente
Sobre nosotros
Copyright © 2025 Desertcart Holdings Limited
Descargar la aplicación


Buy anything from 5,000+ international stores. One checkout price. No surprise fees. Join 2M+ shoppers on Desertcart.
Desertcart purchases this item on your behalf and handles shipping, customs, and support to Spain.
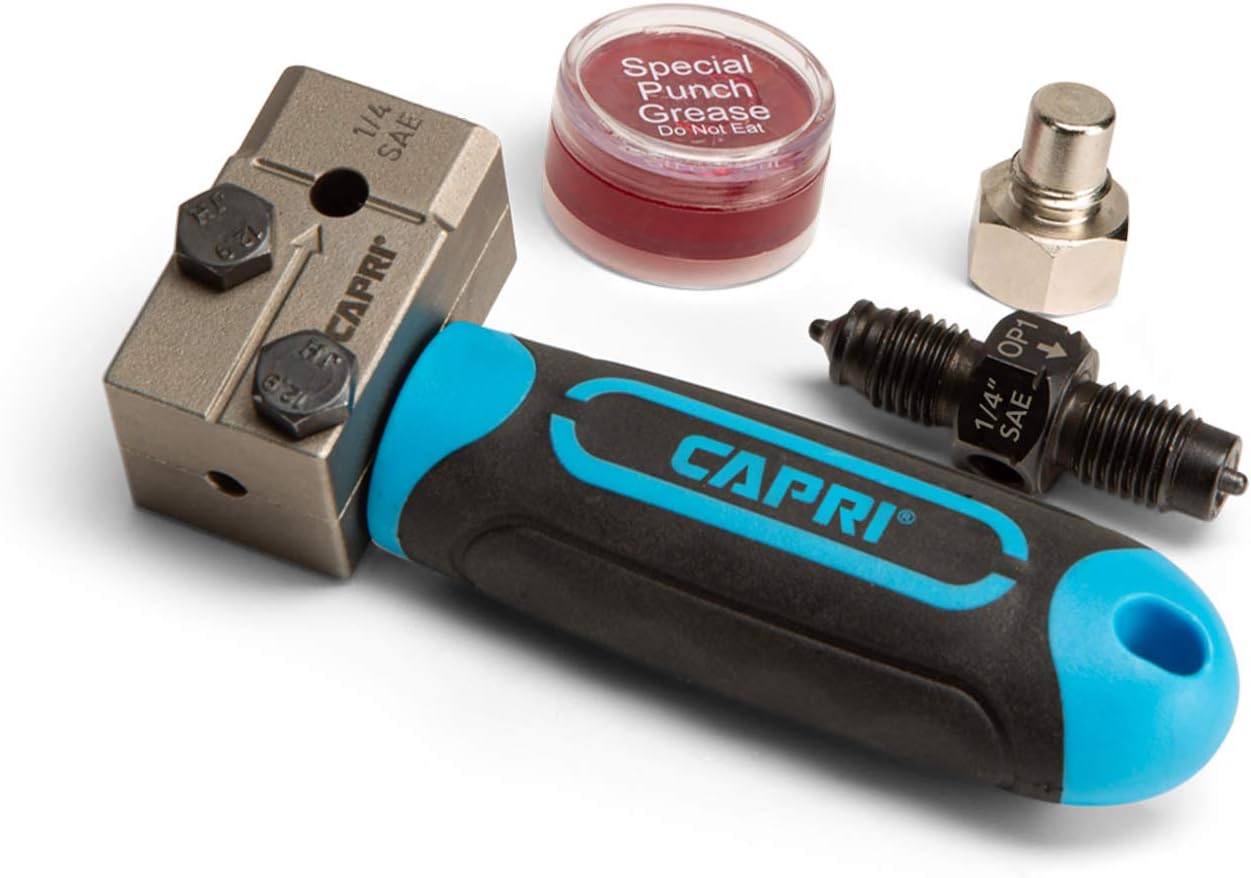
🔩 Master the flare, own the repair—precision in your hands!
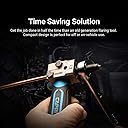
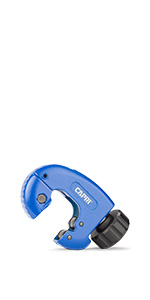
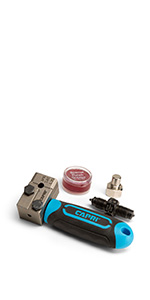
The Capri Tools 1/4 in. Double Flaring Tool is a compact, hand-powered device engineered to produce perfect 45-degree SAE double flares on 1/4 inch brake lines and tubing. Designed for speed and precision, it cuts flaring time by 50% compared to older models. Compatible with non-stainless steel, nickel, and copper tubing, its detachable die enables bench vise use for enhanced stability. This all-in-one tool requires only a 10 mm and 17 mm wrench, making it the go-to choice for professional-grade brake line repairs both on and off the vehicle.


| ASIN | B08W8D3J2K |
| Batteries Required? | No |
| Batteries included? | No |
| Best Sellers Rank | 9,501 in Automotive ( See Top 100 in Automotive ) 67 in Brake Tools |
| Customer Reviews | 4.7 4.7 out of 5 stars (1,578) |
| Date First Available | 8 Feb. 2021 |
| Included Components | Double Flaring Tool |
| Item Package Quantity | 1 |
| Item Weight | 181 g |
| Item model number | CP21110-14 |
| Manufacturer | Capri Tools |
| Part Number | CP21110-14 |
| Pattern | Flaring Tool |
| Power Source | Hand Powered |
| Product Dimensions | 11.68 x 4.06 x 2.95 cm; 181.44 g |
| Style | 1/4 in. Double Flaring Tool |
A**R
Perfect doubles flares every time
I had also bought one of the cheap vice-held sets that wasn't fit for purpose. This, however, is a good quality item that produces perfect double flares every time. The grip holds the pipe firmly without damage and without needing to overtighten the nuts. The best thing is that all the critical settings, e.g. how far the pipe protrudes, how much the formers should be tightened down, are all controlled so no guesswork is required. Also, the formers are kept square to the pipe producing nice symmetrical flares - this is the big weakness with the cheap sets. Great tool and well worth the money.
A**Y
Really well made
I used this to make up new brake pipes for my Mini Cooper S. For a hand held brake flaring tool it feels solid and really well made unlike some tolls I have used in the past. As its hand help I was able to use t to flare the pipes in situ, this really helped with the job, especially as the idiot (me) managed to damage on of the joining threads after the pip had been laid.
L**T
It works on steel (OE) lines
It does work brilliantly on steel brake lines as well, on the car so saves a lot of time, and quality wise its very nice, only down side to it is there's no case with the variant i got
K**R
Brake flaring tool
This is was my first attempt at replacing brake pipes. This tool made it really easy, created perfect flares on my first attempt. All installed with no leaks. Really good tool, highly recommend!
D**T
Great tool
Well engineered tool used on car to bubble and double flair worked a treat. Had to send 4 others different brands back as pipe just slipped back. This capri tool works great. Practice on bench first and if having to use on pipe on car plug pipe if you can and clean pipe to stop it slipping and you should be good.
R**R
Good tool
I tried this on copper nickel lines and factory steel lines. It worked well and produced clean flares but you need to make sure the body is clamped together tightly or it will produce misshapen flares. I would have liked to see it come with a case at this price.
A**R
Great quality brake pipe tool
Used cheaper sets that weren’t that great at producing quality flares but this is simple, easy to use and produces great quality flares also use if needed with out taking the pipe off the vehicle , bout sure what it’s like with steel pipes though as used on copper, great quality tool
Z**B
Scroll past the others and buy this one...
I never normally leave reviews for products I have bought. But, if you need a flairing tool, spend the extra and buy this. Don't waste your money on the old style. Worth every penny! Perfect flairs every time. I'd give it 6 out of 5 if I could...
Trustpilot
Hace 1 mes
Hace 3 semanas